Thursday, December 19, 2013

Color-coded pictures:


Pictures by G.A.

Link to the spreadsheet

Leica Pictures

These are the pictures taken with the Leica microscope. The Leica microscope was able to give us detailed 3D images that clearly showed the lily pollen. 

Day lily:


Calla lily:

Asian lily:

Pictures taken by: G.A., R.S. and O.B.


Tuesday, December 17, 2013

Procedure

Electron Microscope Usage

Part 1: Preparing the sample

1. Get a clean stub and carefully apply a fresh layer of carbon tape. 
2. Using forceps, scratch 3 sets of fiduciary marks onto the carbon tape for sample indication while inside the SEM.
3. Take a small brush and gently tap a small sample of pollen in between each section of fiduciary marks. DO NOT USE THE SAME BRUSH FOR EACH SAMPLE. This can cause cross-contamination of the samples.
4. Using a can of compressed air, spray the sample in a swirling motion starting at about a foot away, and moving in to almost two inches. This is to blow off any pollen that is not properly adhered to the carbon tape. 
5. Place the stub into the cup, pushing until it is seated tightly. then turn the dial on the cup until the stub is flush with the top of the cup. then turn four more times to the right. 
6. Load the cup into the holder on the SEM and push all the way. Finally, lower the door on the SEM until it locks. The sample is ready for scanning.

Part 2: Viewing the Sample on the Leica Microscope
1. Select a sample of pollen and place it in a clean petri dish.
2. Place the petri dish on the light circle on the Leica.
3. Adjust the lighting using the buttons on the corner of the microscope.
4. Focus your image using the adjustment knobs on the side.
5. Click the capture button on the computer

Part 3: Viewing the Sample on the Compound Light Microscope
1. Create a wet mount by adding a drop of growth media to the pollen on the slide.
2. Place the slide on the stage of the microscope and focus on 400x power.
3. Check the pollen every 5 minutes to see if the growth media has spurred any pollen tube growth.
4. Draw your pollen grains in your lab packet. 

Part 4: Viewing the Sample on the SEM

1. Map the sample on the SEM to load the entire sample into the SEM's field of view.
2. Tap on any desired area on the main viewing window to navigate to it.
3. Turn the zoom knob to zoom in to the desired magnification indicated by a number below the main window. Auto Focus/Auto Contrast regularly.
4. Capture an image with the photo button and save it in the archive to a USB stick. 

Monday, December 16, 2013

Our last sample comes from the Asian Lily (Lilium Asiatic)

http://capnbob.us/blog/2012/09/

Thursday, December 12, 2013

One of our samples comes from a Calla Lily (Zantedeschia aethiopica)
http://home.howstuffworks.com/calla-calla-lily.htm

General Pollen Structure Research

Mature angiosperm pollen grains are specialized cells that contain complete sperm cells. This structure develops after meiosis, when cell division produces two unequally sized cells. The larger of the two cells then absorbs the smaller one. The smaller cell undergoes secondary mitosis to produce two sperm cells required for double fertilization.

Gymnosperm pollen grains are similar to angiosperm pollen grains, but are also very different.
These pollen grains have a unique cell wall. At maturity, these pollen grains have three main components that vary between species.
These components are:
1. A strong, chemically resistant polymer lining.
2. A cellulose inner intine.
3. A Pollen coat, composed of lipids, that contains all subsequent components relating to pollen such as pigment.

http://upload.wikimedia.org/wikipedia/commons/a/a4/Misc_pollen.jpg


Sources:
http://www.plantcell.org/content/16/suppl_1/S84.full

Examining our Pollen On Compound Light Microscopes


Our lily samples


Team Agreement

Grace Anderson- Team photographer, uploaded and labeled all of the images, contributed to the hypothesis.

Olivia Berry- Recorder, wrote the team agreement, constructed the "Question" section, and made sure that the data followed the question accordingly.

Wilson Bingham- Data collecter, organizer, researched lilies and other essential background information, followed and wrote down the procedure.

Richard Smith- SEM Operator, wrote the "Background/Pollen Tube Information," uploaded pictures and contributed to the other sections.

Pollen Tube Research

Station 8: Pollen Tube Research

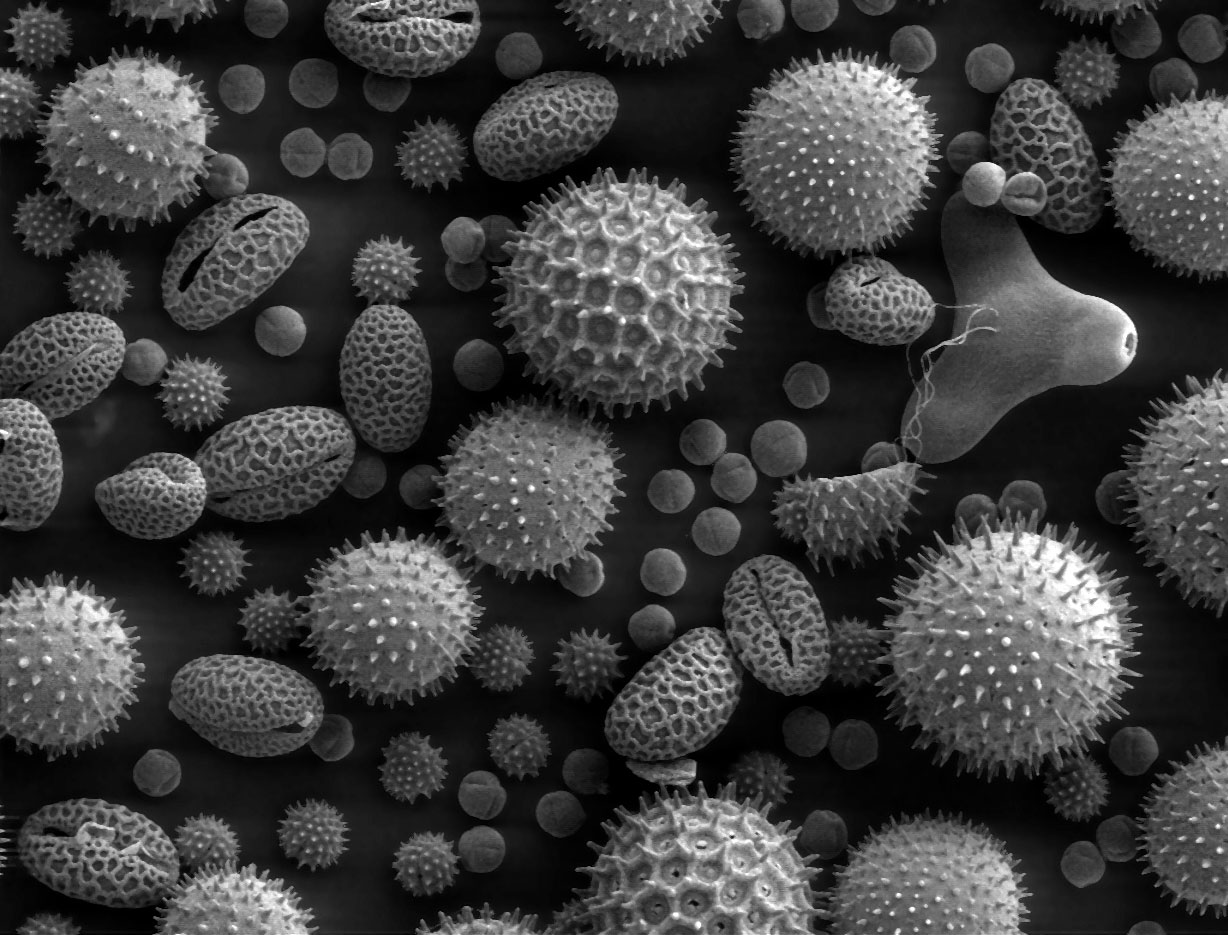
What is a pollen tube?
A pollen tube is a specialized type of cell that contains two sperm cells and the nucleus. The pollen tube is a haploid "cell within a cell."

What factors are important for pollen tube growth?
[Ca2+]i is a chemical involved in regulating pollen tube growth. When scientists altered [Ca2+]i levels the effect was detrimental to pollen tube growth. 

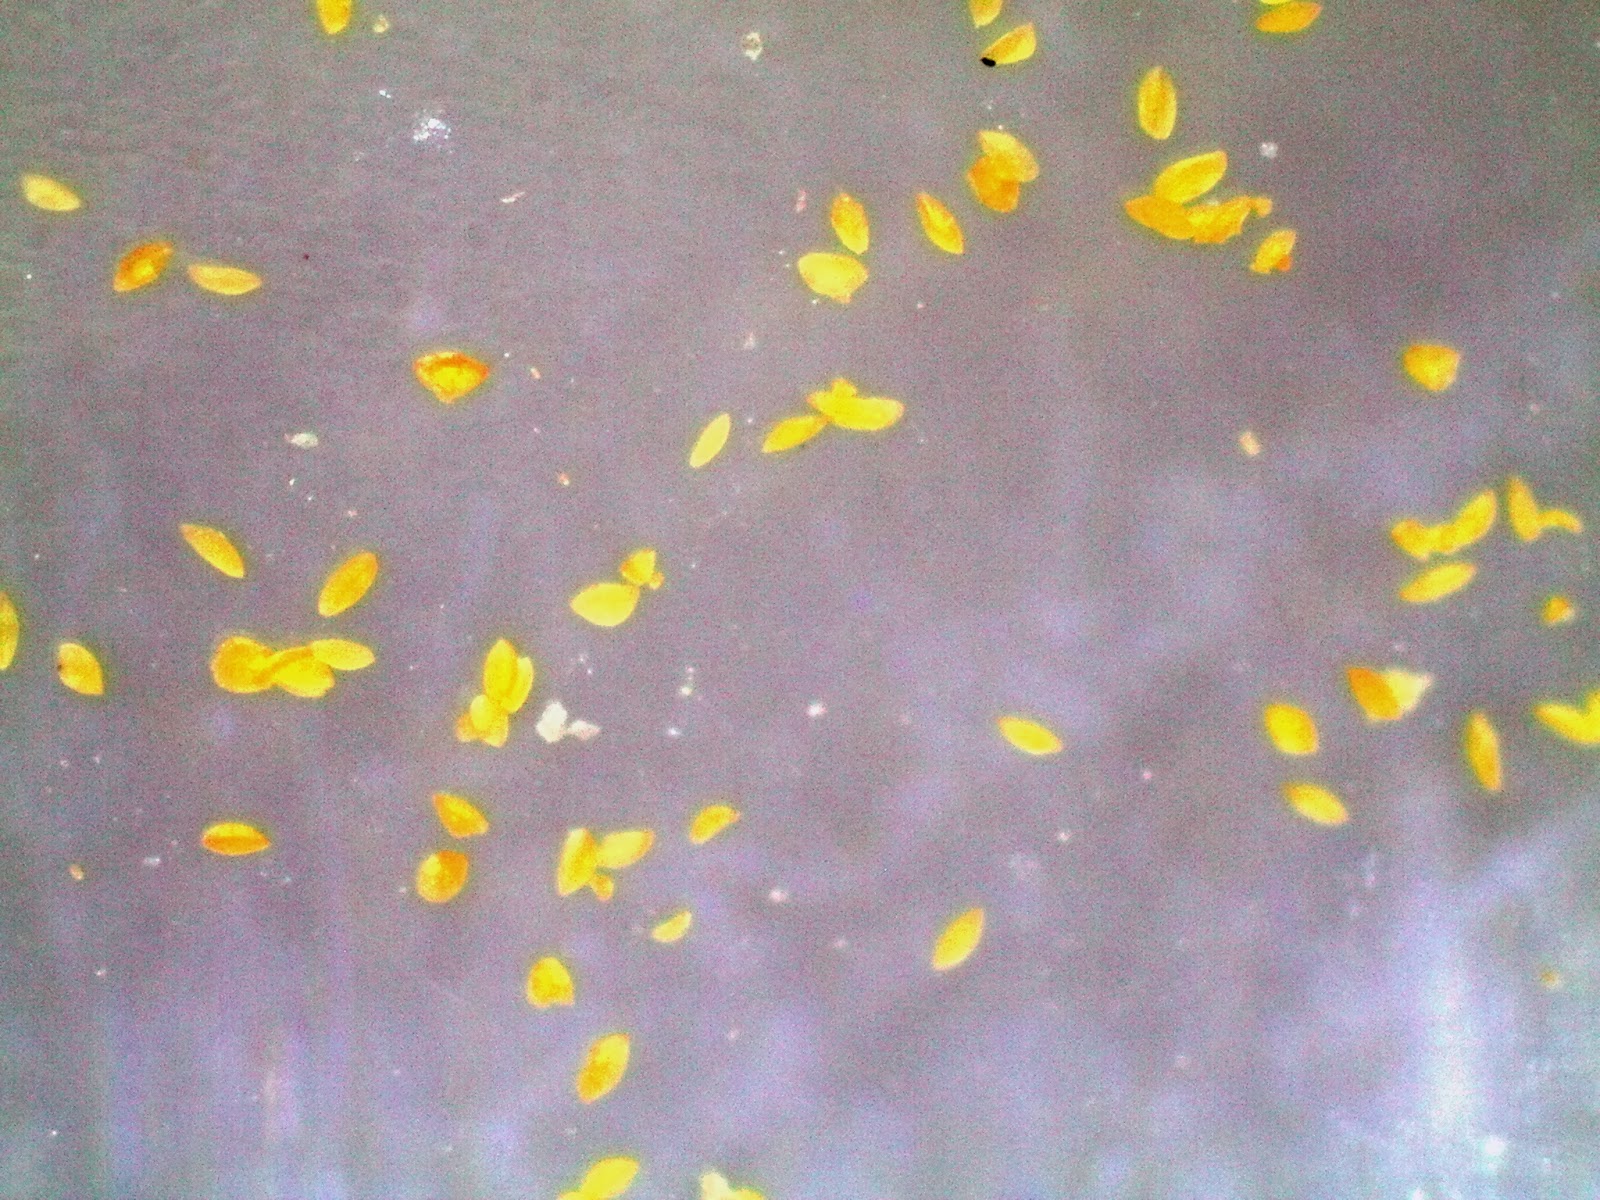
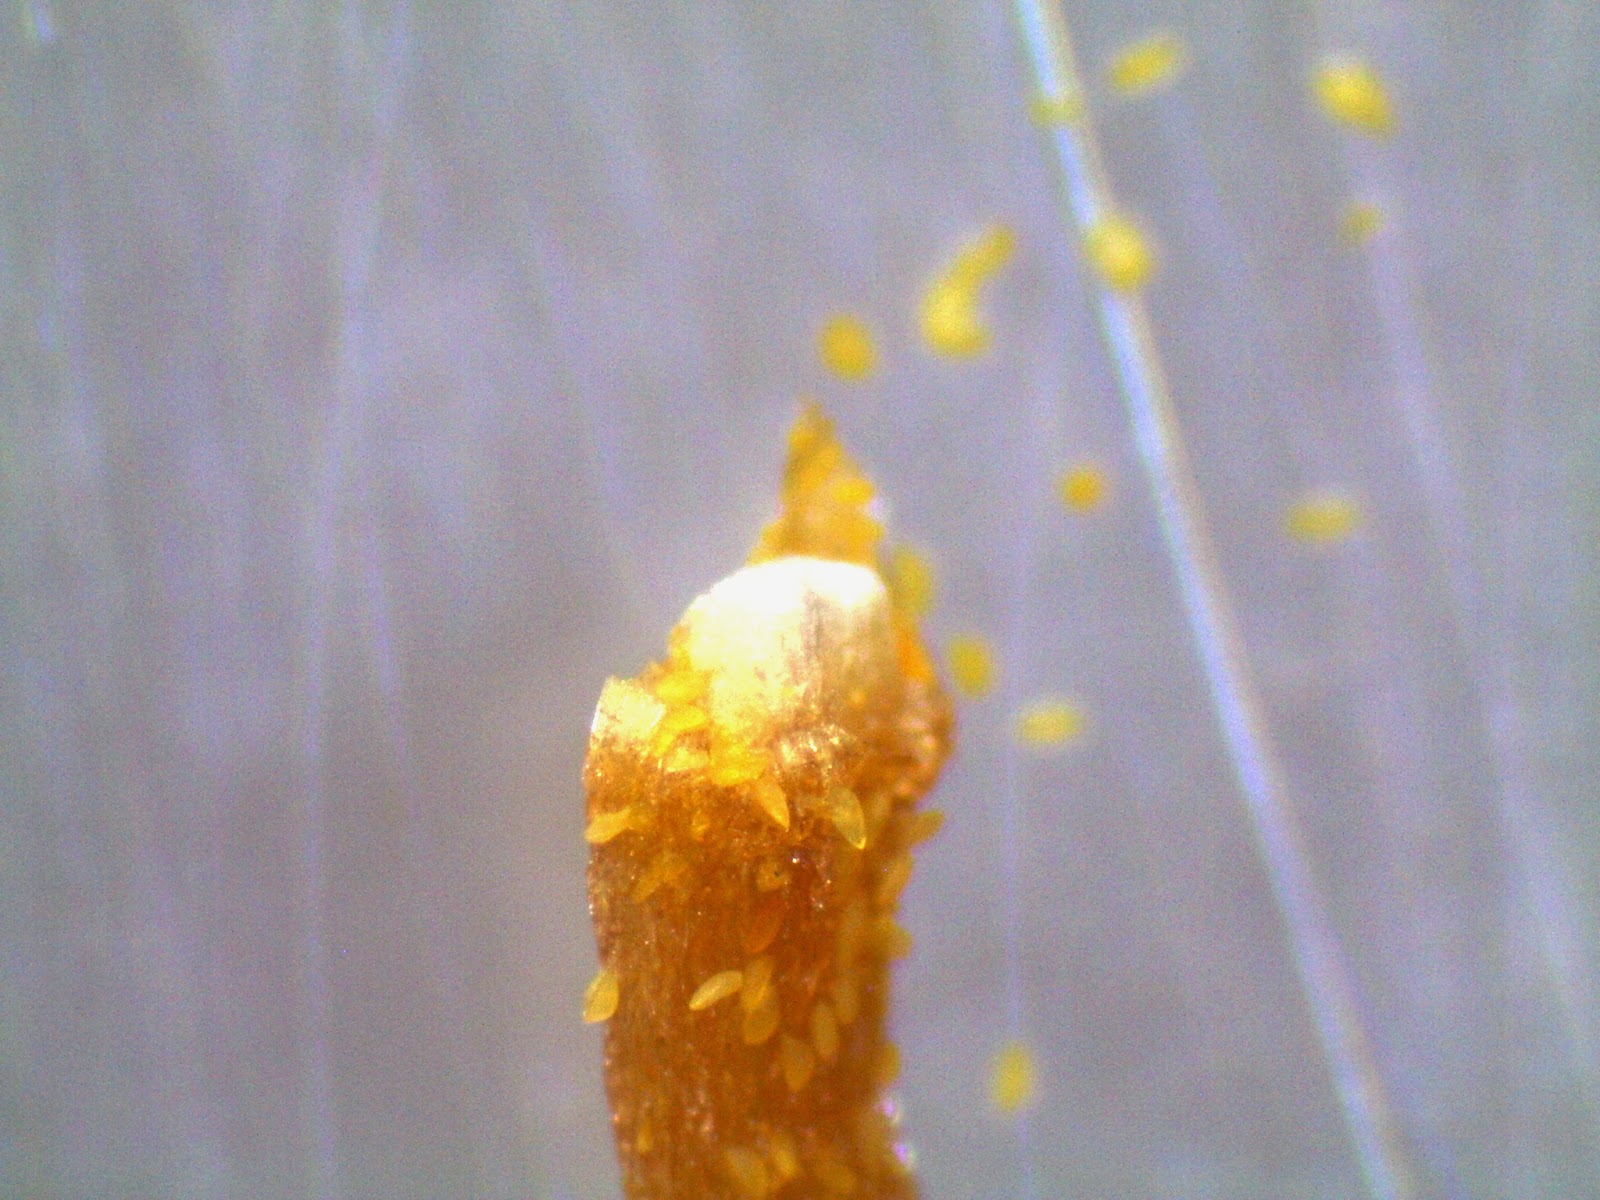
How does pollen reach the ovule?
First, pollen is deposited on the stigmatic tissue. If it is compatible, a pollen tube begins to grow at a rate up to 1cm/h. This pollen tube opens up to create a pathway for the pollen to travel into the ovary and ovules.

Advantages of cross-pollination:
Plants that cross-pollinate produce a stronger, "more vigorous" seed that has a higher chance of success. Cross-pollination also increases plant diversity when plants hybridize as a result of it.


SOURCES:

How pollen tubes grow
Alexander Krichevsky a,⁎, Stanislav V. Kozlovsky a, Guo-Wei Tian b, Min-Huei Chen a,
Adi Zaltsman a, Vitaly Citovsky a
a Department of Biochemistry and Cell Biology, State University of New York, Stony Brook, NY 11794-5215, USA
b Multi-Photon Imaging Facility, State University of New York, Stony Brook, NY 11794-5200, USA
Received for publication 5 August 2006; revised 16 November 2006; accepted 2 December 2006

http://www.plantcell.org/content/11/4/727.full
http://www.plantcell.org/content/16/suppl_1/S84.full

Tuesday, December 10, 2013

Our Question

The question that our group will be investigating is: What are the differences in pollen structures between various types of lilies?

Lilies are very common flowers that are native to the Northern hemisphere. The three lilies that we are studying are:


Daylilies-

Please click on plant title to see the citation.

These lilies all look very different and their pollen does as well. In this experiment we hope to find all of their differences and similarities. 

POLLEN FROM DAY LILIES


Pictures by R.S.

Olivia measuring Asian lilies


Picture by G.A.

Zooming in on Asian lilies


Picture by G.A

Asian lilies


Picture by G. A. 

POLLEN FROM CALLA LILIES


Picture by R.S

The first view of the Asian lily pollen


Picture by G. A.

Richard blowing canned air onto the stub to make sure nothing will comeoff in the SEM


Picture by G. A.

Our "stubs"


Picture by G. A.

POLLEN FROM ASIAN LILIES


Picture by R. S.